Deno is basically Node reversed.
We will install Deno on Arch Linux, I will list two methods.
**First method.**
You can install it using Pacman by entering the command below,
```
```bash
sudo pacman -S deno
```
```
Here is the web link to [the package](https://archlinux.org/packages/community/x86_64/deno/).
**Second method.**
Enter the following commands in Terminal.
```
```bash
curl -fsSL https://deno.land/x/install/install.sh | sh
```
```
Next step is specifying Deno’s path to bash.
Open `.bashrc` and add the lines below to it.
```
```bash
nano ~/.bashrc
```
```
```
```bash
export DENO_INSTALL="/home/$USER/.deno"
export PATH="$DENO_INSTALL/bin:$PATH"
```
```
Open a new Terminal instance.
### Testing Deno
Enter the following command.
```
```bash
deno
```
```
To check the version on Deno simply run.
```
```bash
deno -v
```
```
Run the following command.
```
```bash
deno run https://deno.land/std/examples/welcome.ts
```
```
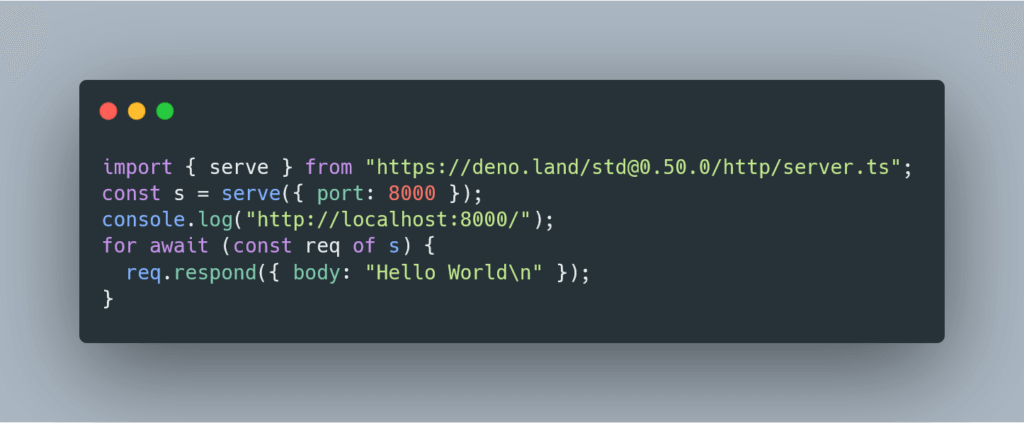
You can also write your first Deno hello world [server](/tag/server/), code example below.
```
```javascript
import { serve } from "https://deno.land/std@0.59.0/http/server.ts";
const s = serve({ port: 8000 });
console.log("http://localhost:8000/");
for await (const req of s) {
req.respond({ body: "Hello World\n" });
}
```
```
https://darryldias.me/2020/deno-package-manager/
Now you have Deno successfully installed.
Happy Coding ☺