This article will cover the step-by-step process of installing Docker on an Ubuntu Server.
Step 1. Update the apt package index.
<pre class="wp-block-code">```
sudo apt update
<figure class="wp-block-image size-large">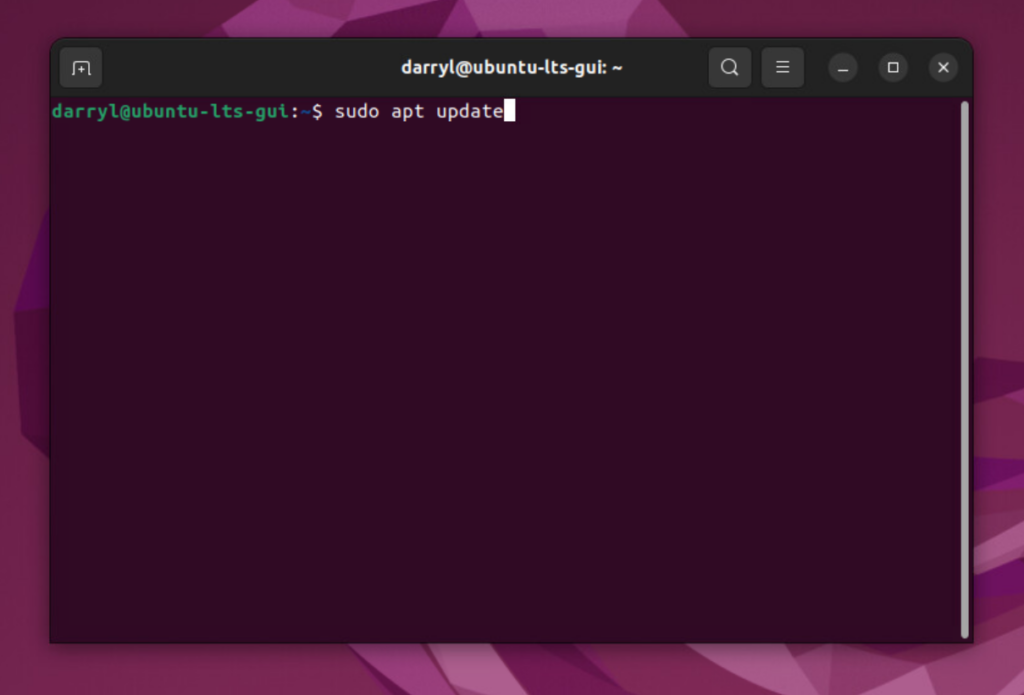</figure>Step 2. Install packages that allow us to use the repository over HTTPS.
```
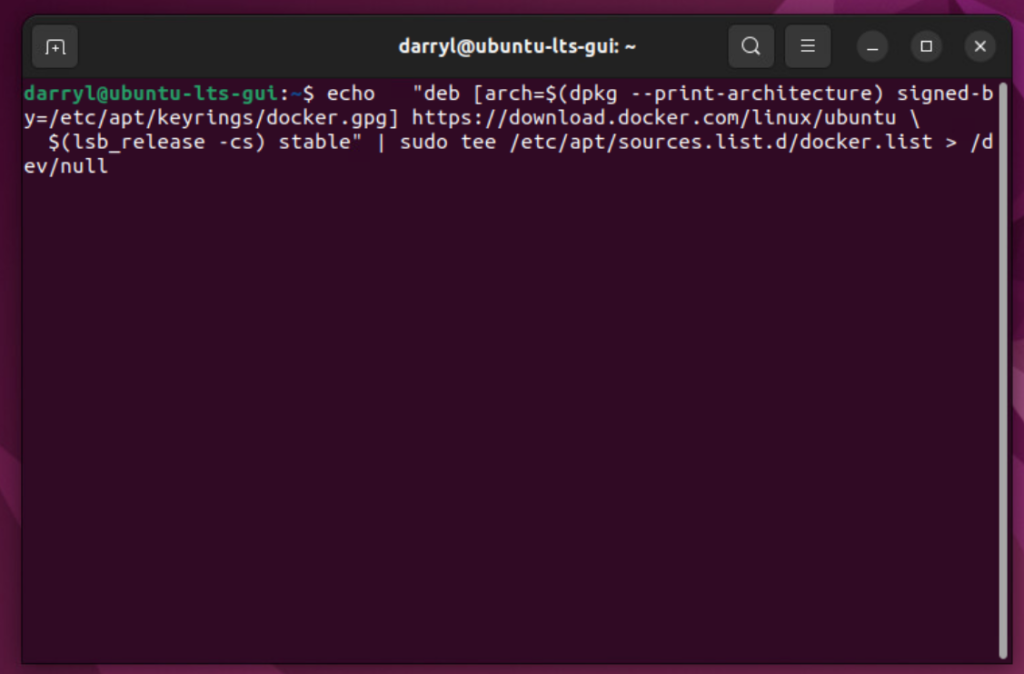
echo \
"deb [arch=$(dpkg --print-architecture) signed-by=/etc/apt/keyrings/docker.gpg] https://download.docker.com/linux/ubuntu \
$(lsb_release -cs) stable" | sudo tee /etc/apt/sources.list.d/docker.list > /dev/null
```
```
Step 5. Update the apt package index once more, so we have the Docker packages added to the package index.
```
```
sudo apt update
```
```
Step 6. Install Docker and its components
```
```
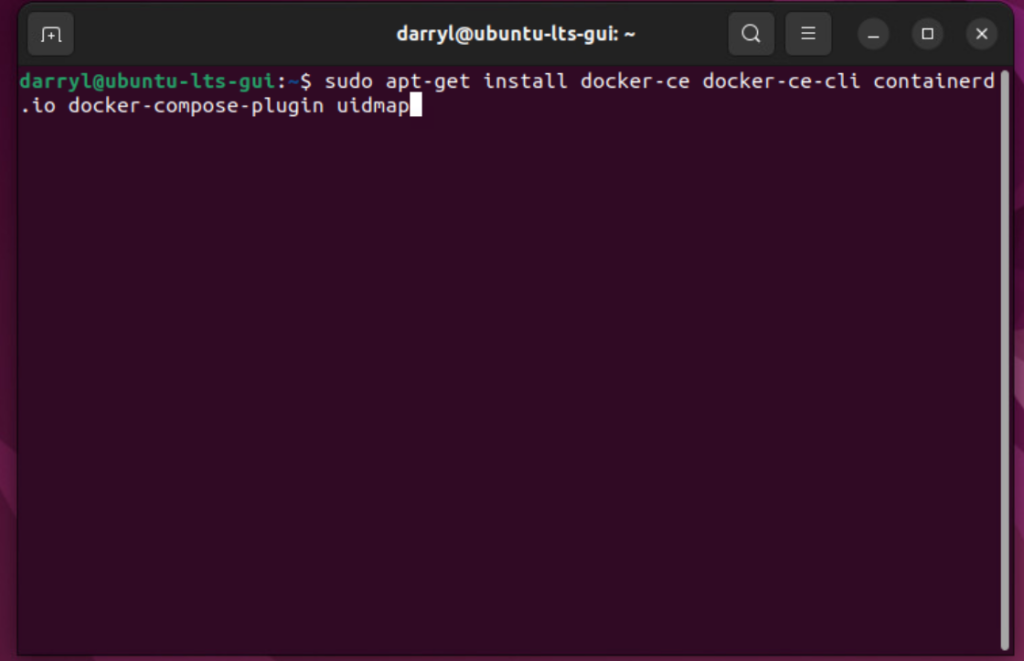
sudo apt-get install docker-ce docker-ce-cli containerd.io docker-compose-plugin uidmap
```
```
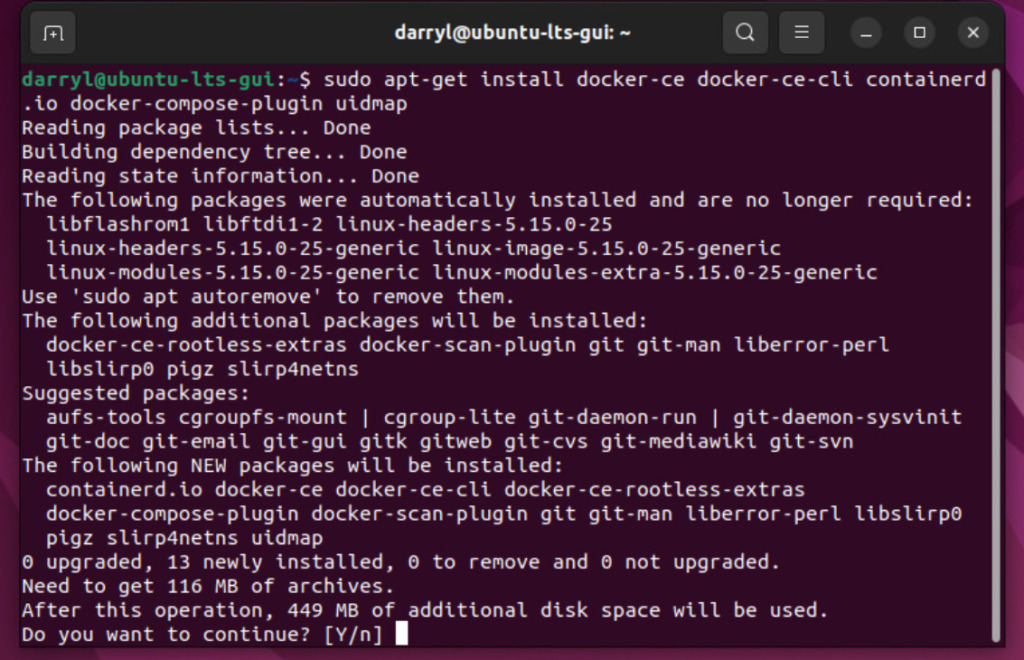Press Y to continueStep 7. Start Docker.
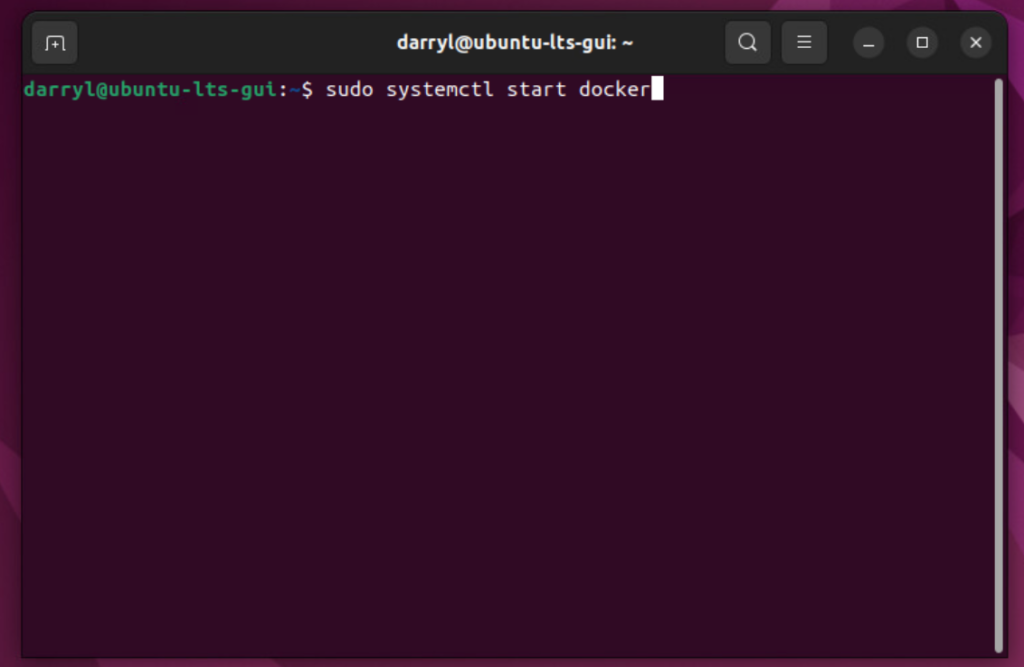
The command below will start Docker.
```
```
sudo systemctl start docker
```
```
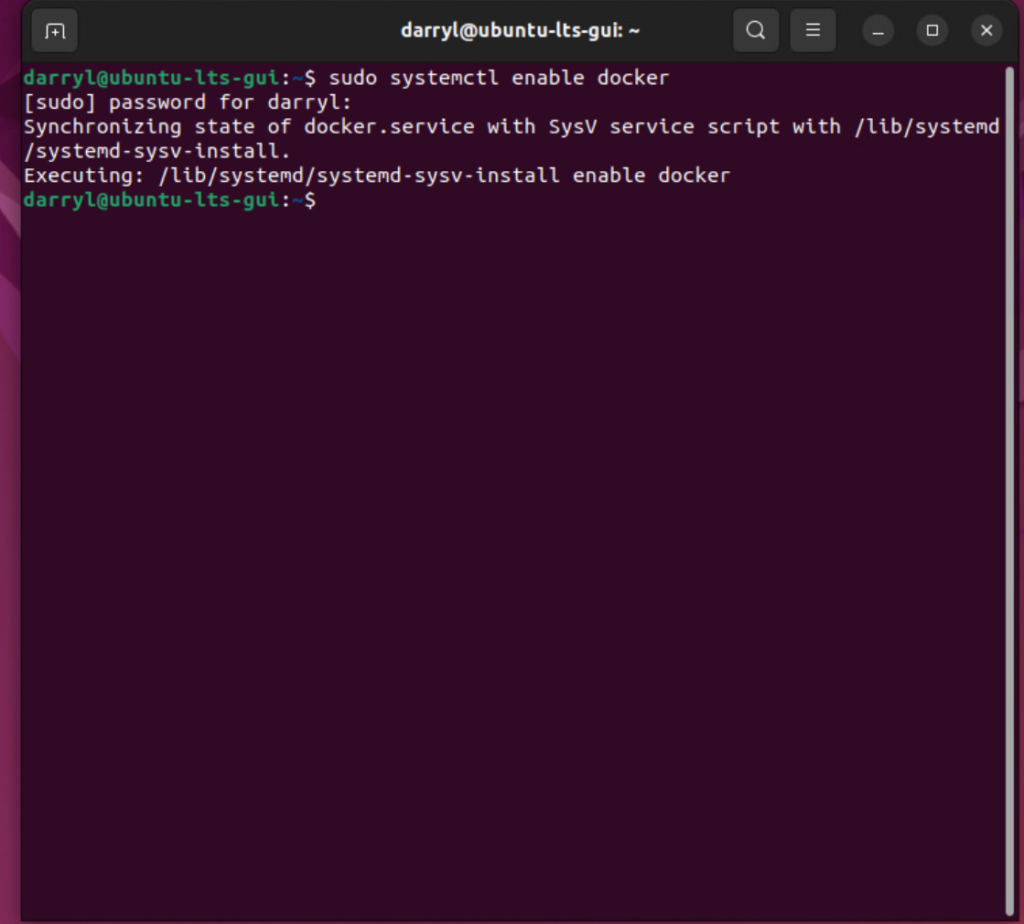
You can also enable Docker to run at startup. It will be useful if you are using it in production.
```
```
sudo systemctl enable docker
```
```
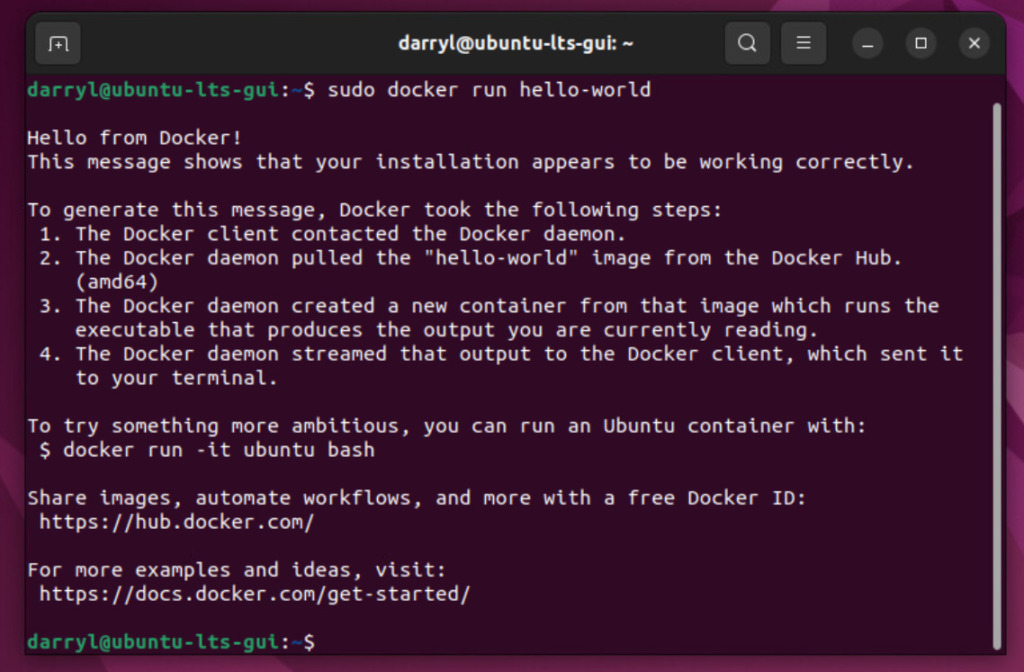
Now that we have Docker installed, we can run the hello-world container.
```
```
sudo docker run hello-world
```
```
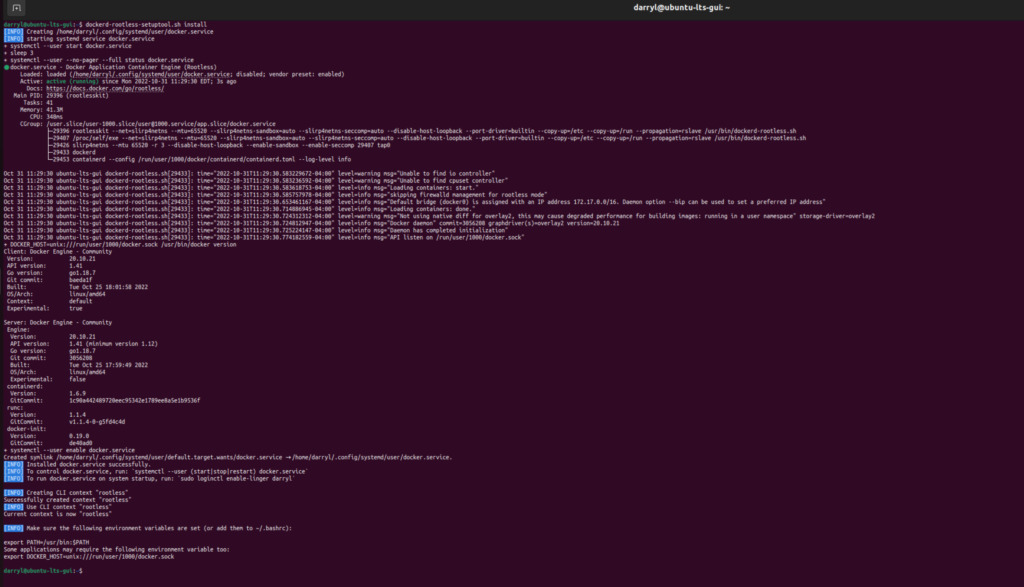
If the above command runs successfully, we can proceed further and set up Docker to execute rootlessly. It means we don't need to run sudo before the docker command.
```
```
dockerd-rootless-setuptool.sh install
```
```
We can now run any docker container rootless, so to test this, let's rerun the hello-world container.
```
```
docker run hello-world
```
```
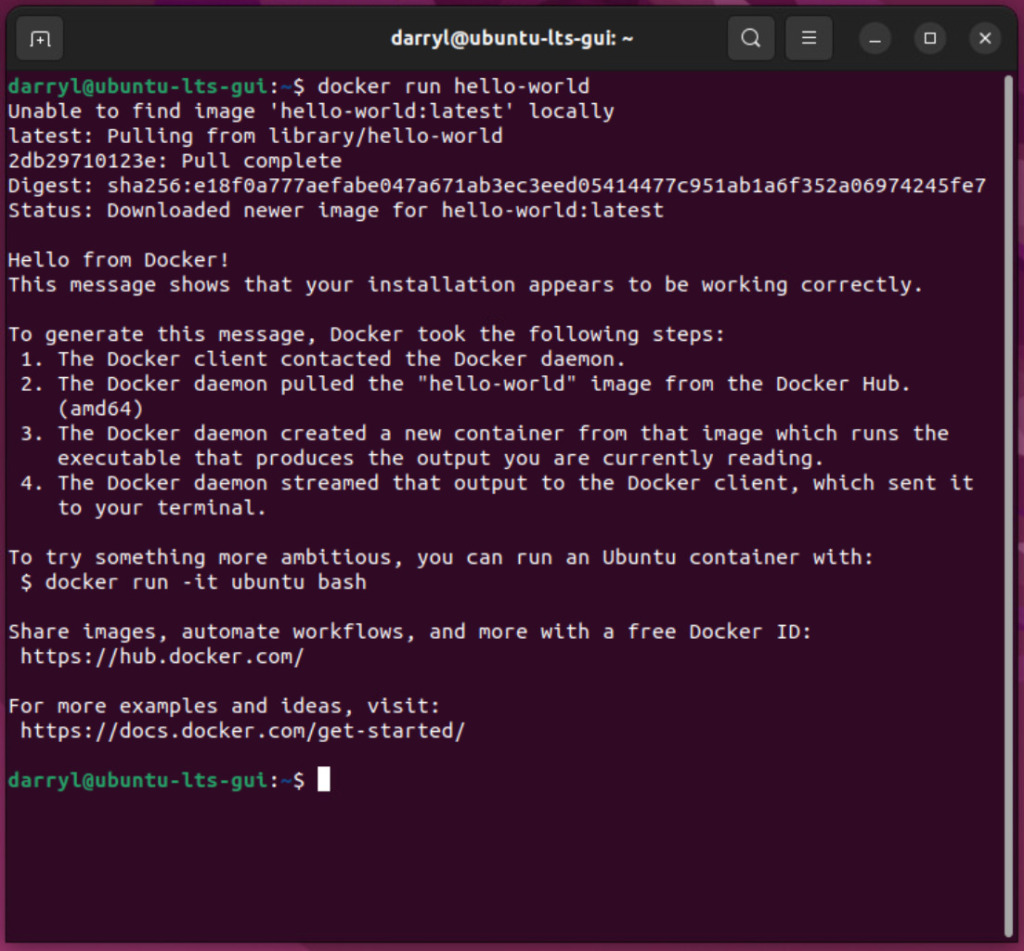We have successfully got Docker up and running.
Leave a comment and share this article if you found it helpful.